
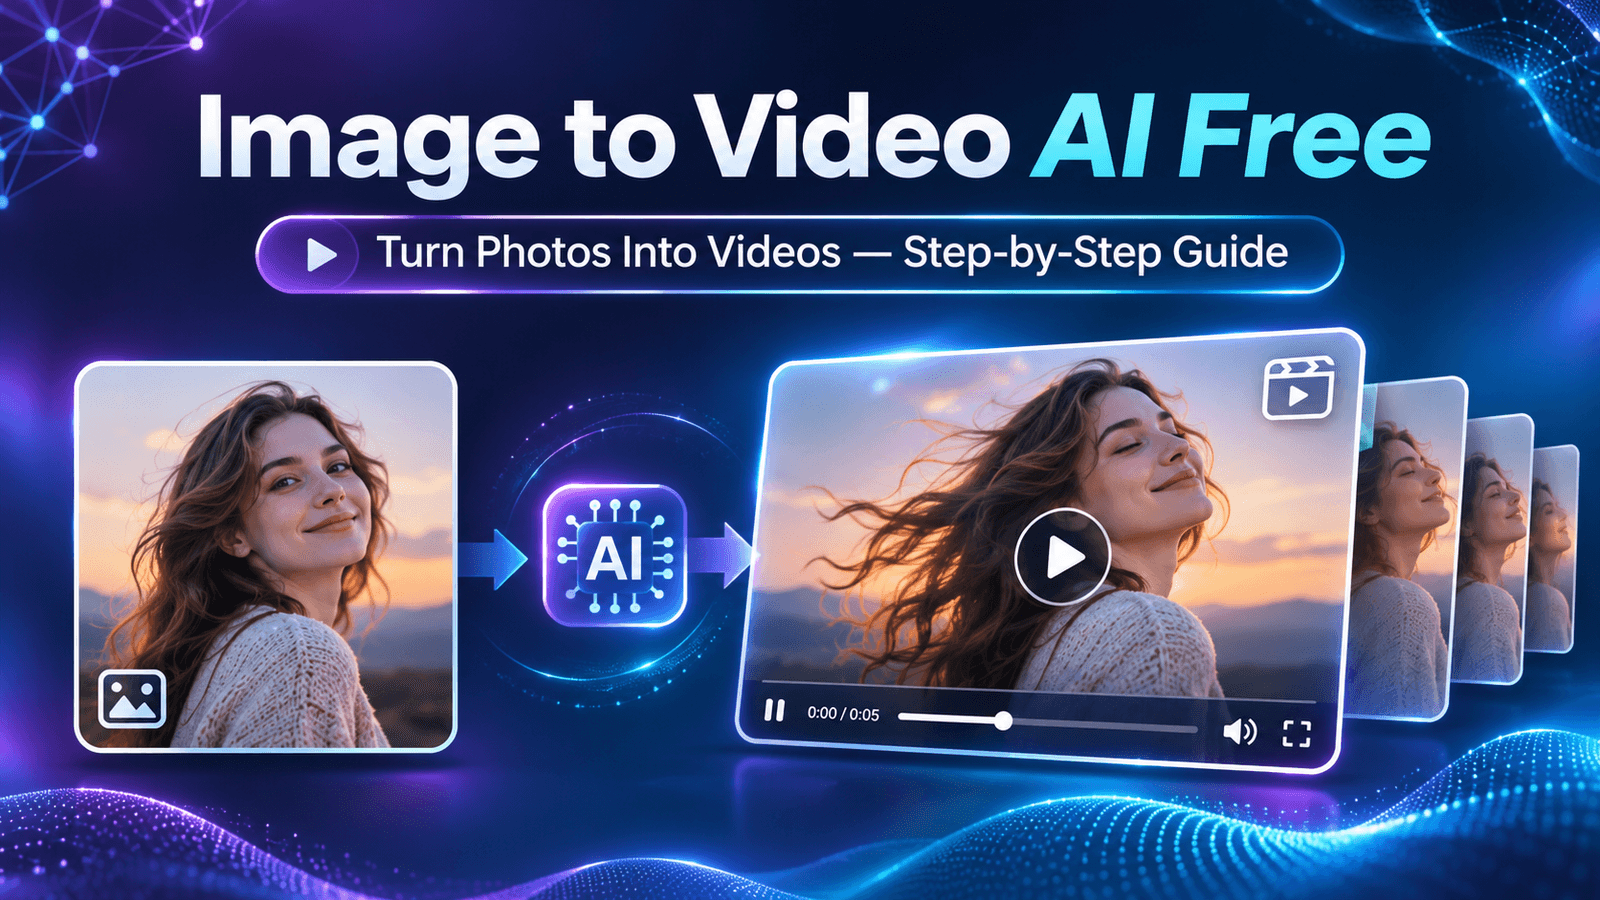
Discover how to use image to video AI free tools to turn photos into animated videos. Follow easy steps, explore motion effects, and export your clips.
A favorite travel picture, an old family portrait, or a product photo can tell a stronger story when it moves. You do not need a full editing studio to begin. An image to video AI free workflow can help you explore gentle motion, camera effects, and short social-ready clips from a single picture. The important part is choosing the right source image and knowing what the tool can actually do. Some services generate entirely new motion with AI; others animate a still image through zooming, panning, transitions, or looping effects. Both can be useful, but they are not identical.
What does it mean to turn a photo into video?
When you turn photo into video, you create a sequence of frames from a static image. A basic animator moves the camera view across the photo, while a generative AI image to video generator may synthesize movement in people, objects, or scenery. That distinction matters: synthesized movement can look cinematic, but it may also change details that should remain fixed. For logos, typography, product labels, and family photos, controlled motion is often safer than aggressive generation. Start with a subtle effect and review every frame before sharing.
Step-by-step: animate a photo online
Step 1 Choose a sharp, well-lit image. Use a high-resolution original rather than a screenshot of a compressed social post. Make sure the main subject is visible and important details are not cut off. Open the Entertainment Couch Image to Animated Reel tool to explore the available photo animation controls. Review the options in the current version before choosing your preferred motion effect.
Step 2 Upload your image in a supported format. If an upload fails, try a common JPG or PNG file and check its size.
Step 3 Select an available animation style or motion setting. For portraits, gentle zooming is usually more believable than dramatic movement. For landscapes, a slow pan can emphasize depth.
Step 4 Preview the result. Check faces, hands, edges, logos, and any text. If the motion feels distracting, reduce its intensity or try a different effect.
Step 5 Choose a suitable output orientation and duration if those controls are offered. Vertical is often practical for Reels and Shorts; landscape works well for conventional video posts.
Step 6 Export or save the finished clip using the options shown. Watch the saved file from beginning to end, especially the transition between the last and first frames if you want a seamless loop.
Try the Image to Animated Reel tool
Ready to give your favorite photo a little movement? Try the Entertainment Couch Image to Animated Reel tool and experiment with a subtle zoom or pan before exporting your clip.
How to get more natural-looking results
Keep the motion consistent with the original scene. A sunset photo often benefits from a restrained push-in; a wide city view may look better with a horizontal pan. Avoid overloading a short clip with multiple competing effects. If you plan to add a caption later, leave some negative space around the subject. For a seamless loop, favor motion that returns naturally to its starting position or uses a visually gentle transition. Test the video on a phone, because small screens can reveal awkward crops that are easy to miss on a desktop monitor.
Can you create image to video without watermark?
Searches for image to video without watermark often lead to tools with different export rules. A free editor may offer clean exports, impose limits, or reserve some formats for paid plans. Do not assume that every free AI tool removes watermarks. Inspect the export screen and a sample downloaded clip before publishing. Also verify the music, images, and other assets you use are yours or properly licensed. A watermark-free file is not automatically cleared for commercial use.
Limitations and privacy considerations
AI-generated motion can introduce flicker, warped backgrounds, changed facial features, or distorted letters. A still-photo animator can preserve the source image more faithfully, but its movement may feel less lifelike. No approach can reliably recover visual information that the original photo never captured. Before uploading sensitive family, identification, or workplace images, read the service’s privacy and retention information. If privacy is critical, prefer a workflow that clearly explains where files are processed and whether they are stored.
Troubleshooting common problems
If the image looks blurry, begin with a higher-quality original and avoid enlarging it beyond its useful resolution. If a portrait becomes distorted, use a less ambitious effect or a more tightly framed image. If text appears to wobble, choose simple camera movement rather than synthesized object motion. If the clip crops the subject, change the framing or aspect ratio before export. If playback stutters, try a shorter duration, close heavy browser tabs, and test the exported file in another player. If the loop jumps, revisit the beginning and ending frames rather than assuming the tool will match them automatically.
Final takeaway
The best photo-to-video result usually starts with a clear image, a modest motion idea, and careful review. Experiment with the Entertainment Couch tool, compare a few versions, and prioritize believable movement over flashy effects. A simple, polished reel can be more effective than an ambitious animation filled with visual errors.
Frequently asked questions
Some tools offer free features or limited usage. Check the current plan and export conditions for the service you select.
Many browser-based editors work on mobile, although controls and processing speed vary by device.
Generative animation may alter details. Motion effects such as panning and zooming generally retain the original pixels more closely.
Start with a few seconds of purposeful motion, then extend only if the story benefits.
Check image rights, model consent where relevant, and the tool’s commercial-use terms.